


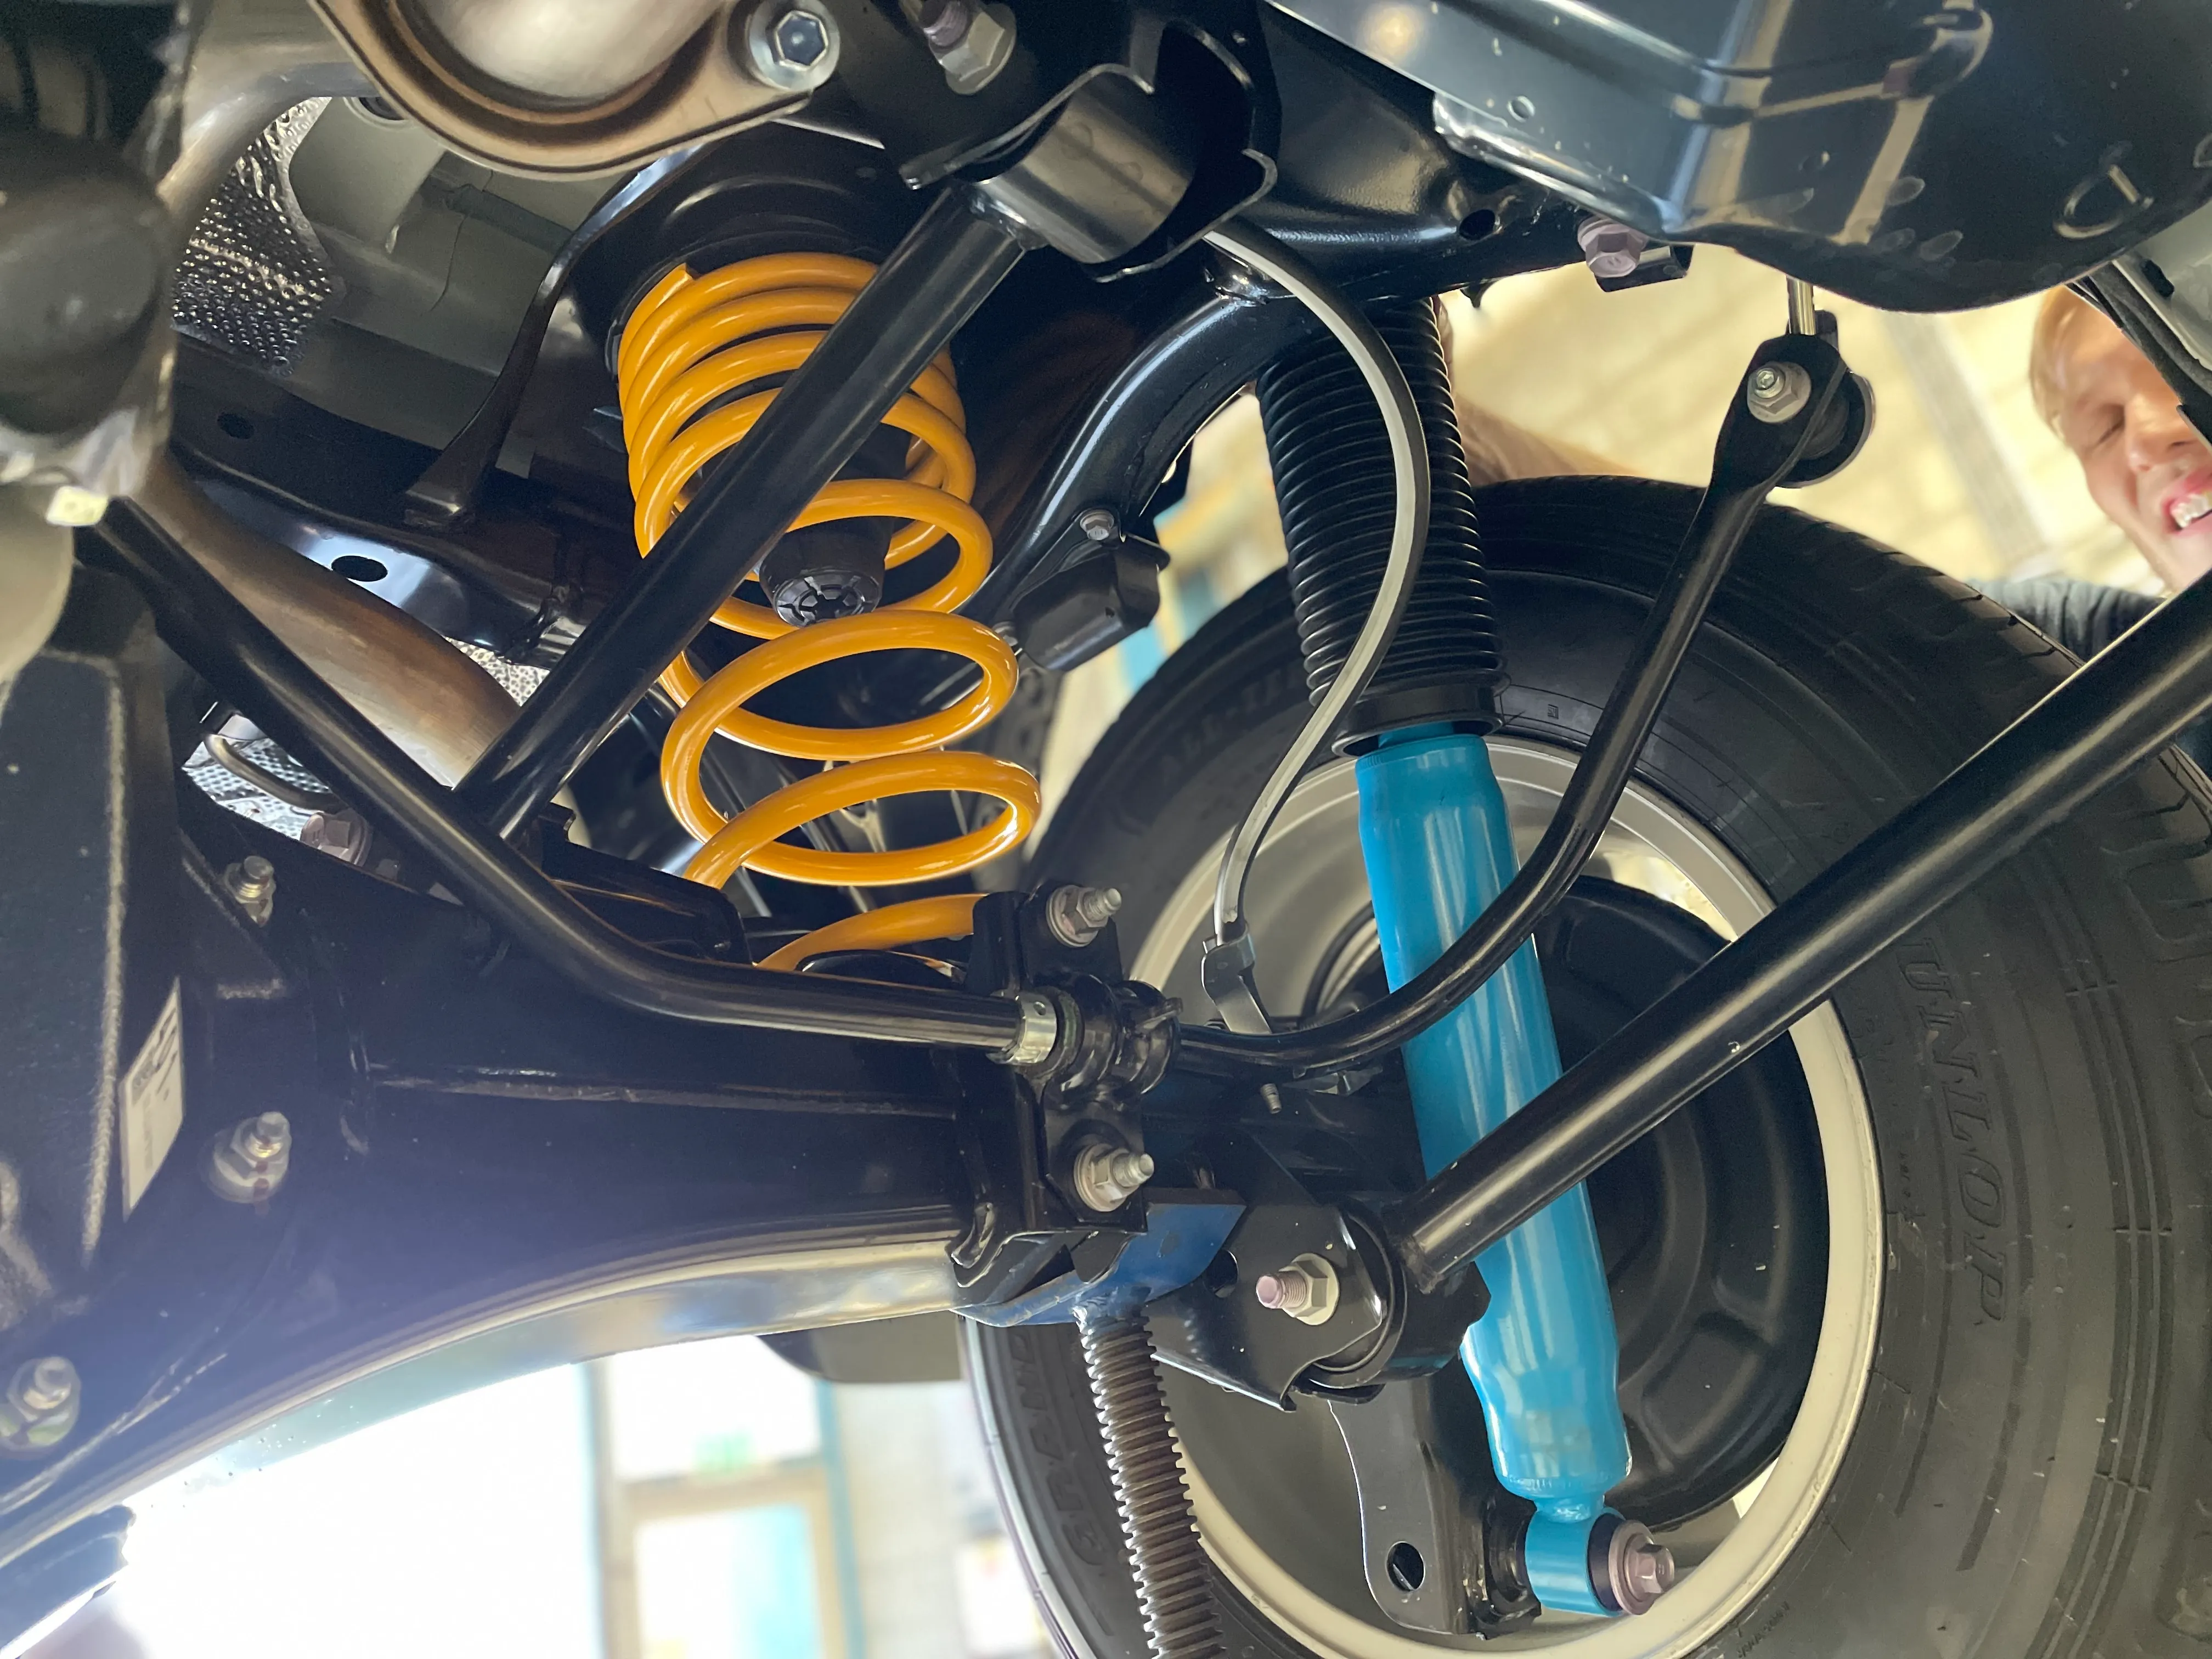

Installing a lift kit involves supporting the vehicle safely, removing the factory struts, springs and shocks, fitting the new components to the correct torque, checking clearances, then completing a 4x4 wheel alignment. It's a one day job for an experienced workshop, and we recommend professional fitting because front struts hold a lot of stored energy.
Knowing how to install a lift kit helps you understand what you're paying for, ask the right questions of your fitter and spot a rushed job. It also helps you decide whether fitting it yourself is realistic. Below we walk through each stage of a typical install on a modern ute or wagon. Start by finding the right kit in our 4x4 lift kits range.
What Tools and Preparation Does a Lift Kit Install Need?
A safe install starts before a single bolt comes out. Workshops use a hoist, but at home you need a hard, level surface, rated jack stands and wheel chocks at a minimum.
The essentials include:
• Spring compressors: Needed if struts aren't pre assembled, or if springs must be transferred.
• Torque wrench: Every suspension fastener has a specified torque, and guessing it isn't safe.
• Penetrating oil and quality sockets: Older vehicles often have seized bolts at the shock and spring mounts.
• Instructions and torque specs for your exact vehicle: Variants within one model can use different parts.
Before starting, measure the ride height at each wheel arch so you can compare it after fitting. Also check the condition of bushes, ball joints and mounts, as worn parts are best replaced while everything is apart.
Good preparation is what separates a smooth install from a weekend spent fighting seized hardware.
How Are the Front Struts Fitted?
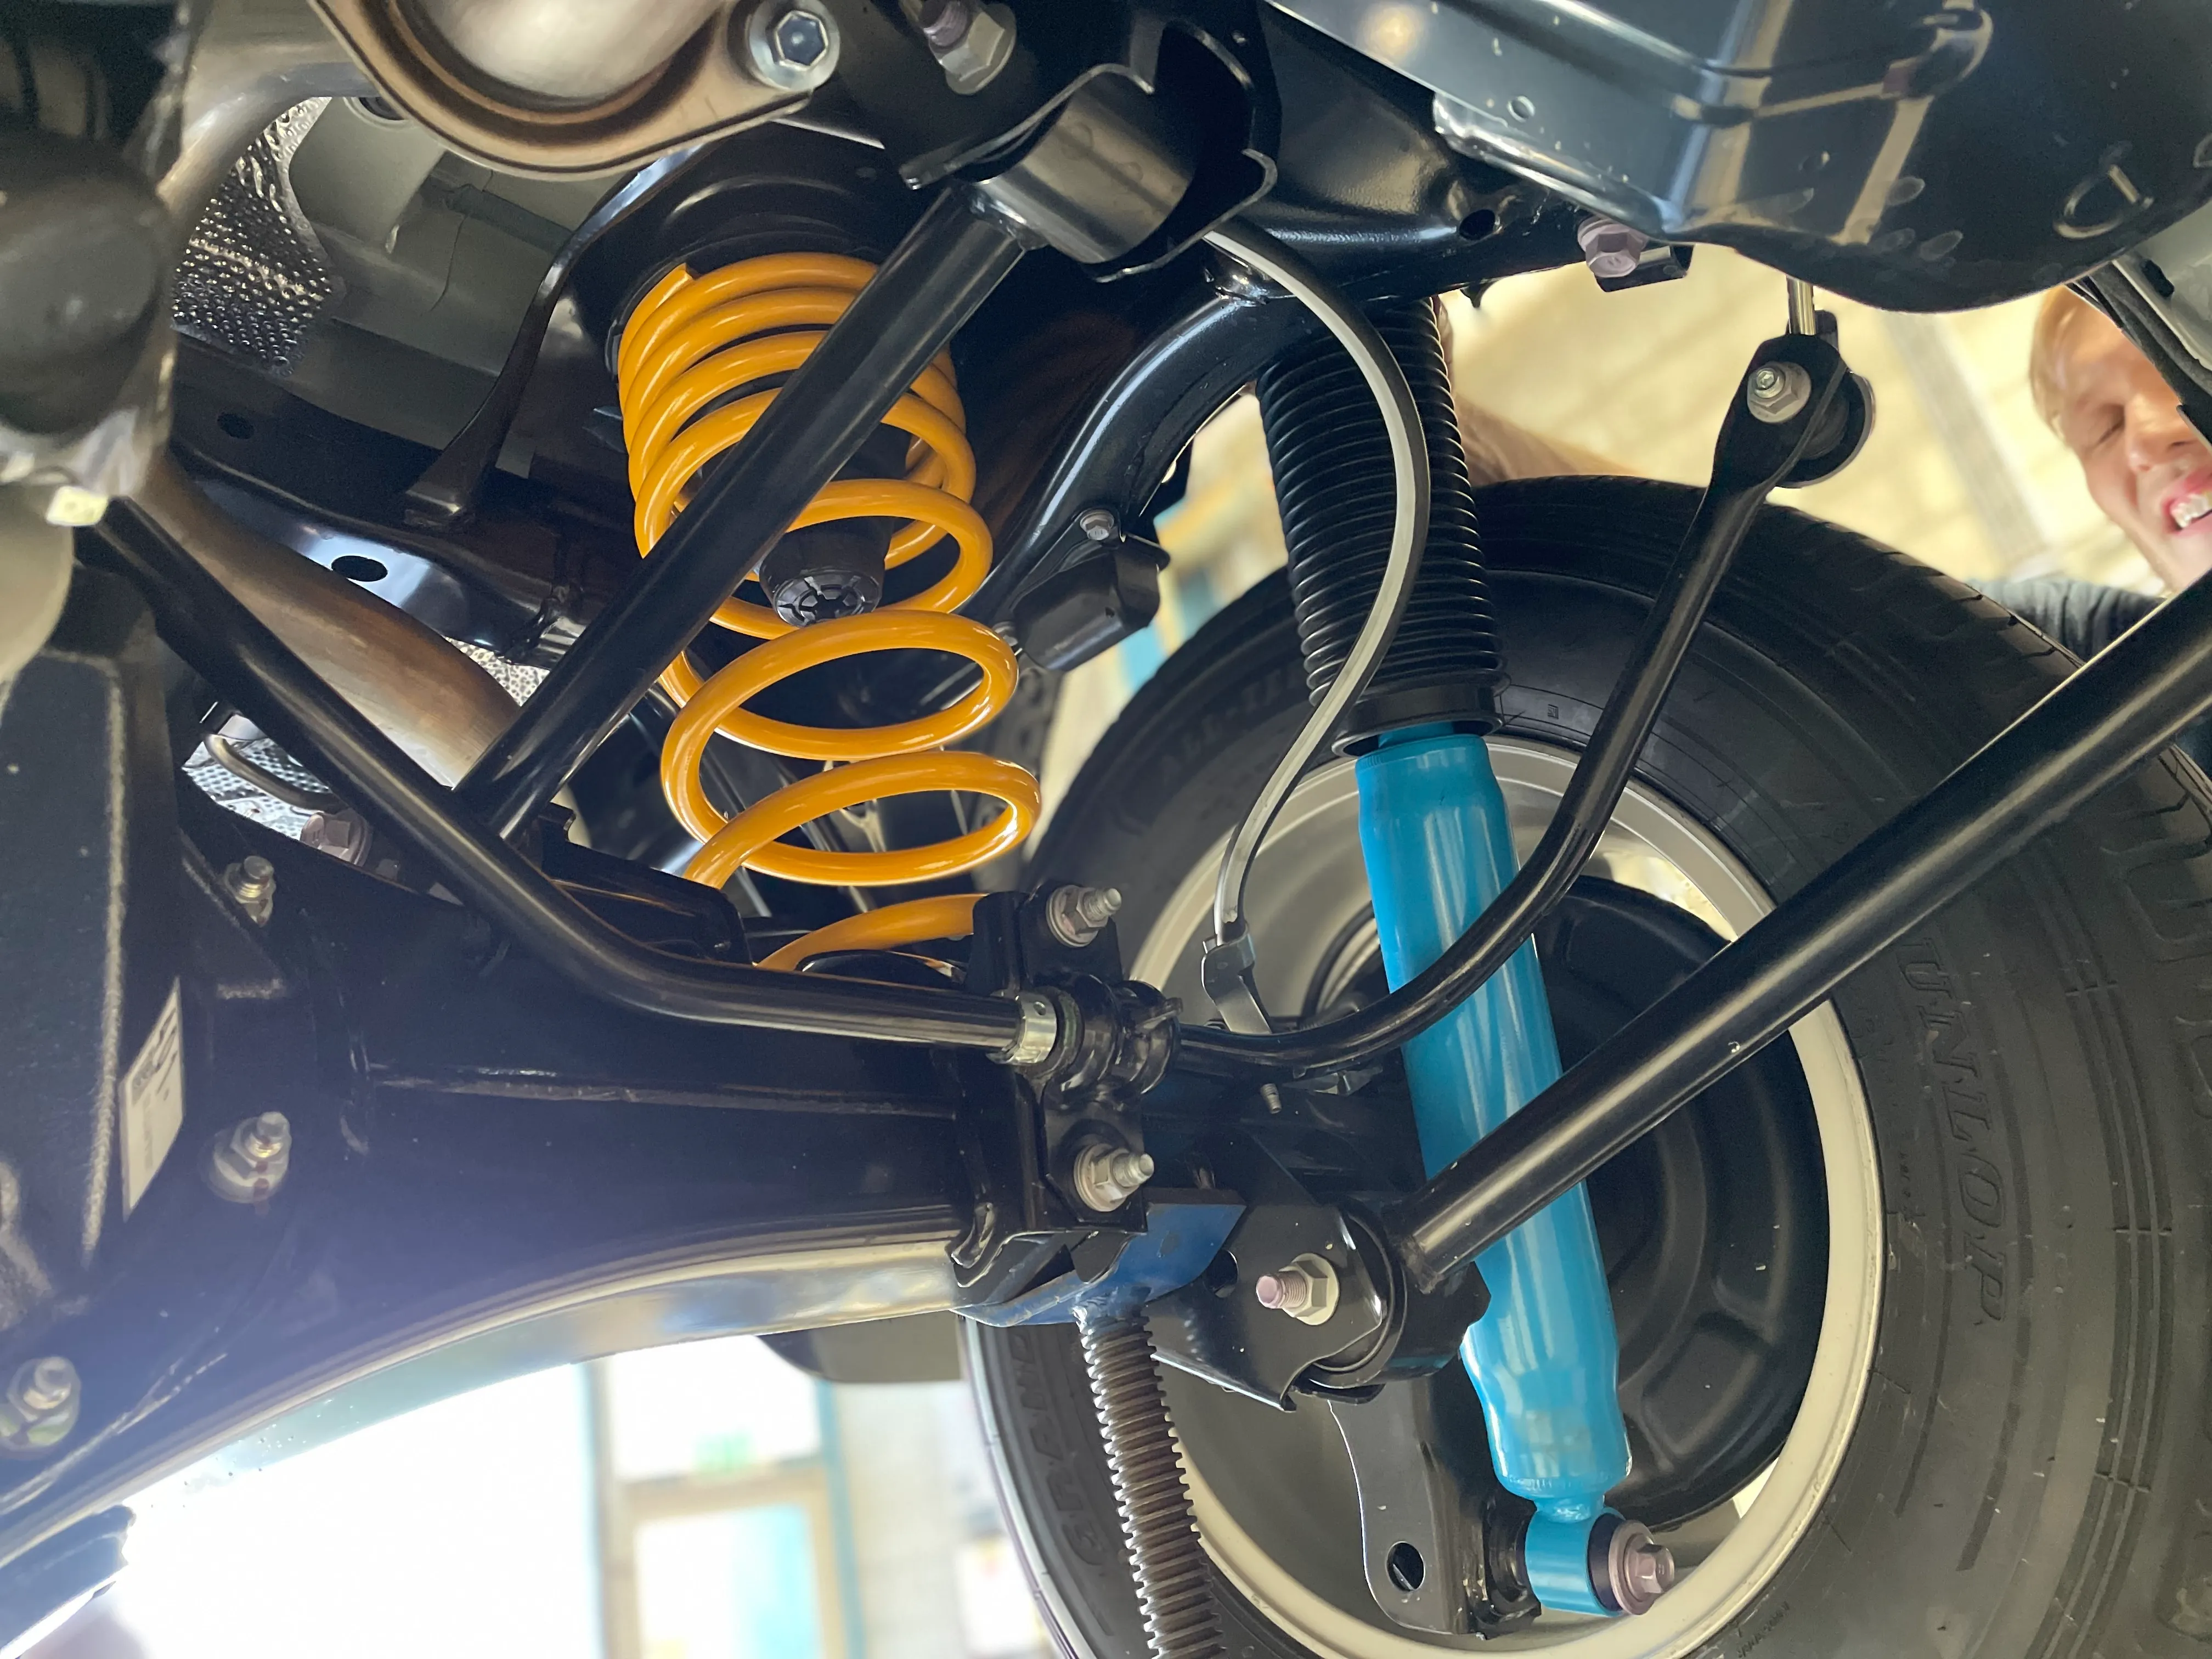
On independent front suspension utes and wagons, the front lift comes from new strut assemblies. With the vehicle supported and the wheel off, the sway bar link, brake line brackets and ABS wiring are unclipped, the lower strut bolts removed and the top mount nuts undone. The old strut then comes out as an assembly.
Our ReadyStruts arrive pre assembled with the spring fitted and the height preset, so they bolt straight in without compressing springs. That makes fitting faster and removes the most dangerous part of the job. On loose strut kits, the factory spring has to be compressed and transferred, which is where most DIY injuries happen.
Once the new strut is in, fasteners are snugged up and only tightened to final torque with the vehicle's weight on the suspension, so bushes aren't preloaded in the wrong position.
How Is the Rear Suspension Lifted?
How the rear is lifted depends on the suspension type. On a leaf sprung ute, the axle is supported, the U bolts and shocks removed, then the spring pack is unbolted at the hanger and shackle. The new spring pack goes in with fresh U bolts, which should always be replaced rather than reused.
On coil sprung rears, the axle is lowered on a jack until the old springs can be removed, then the taller springs and longer shocks are fitted. Brake lines, breather hoses and the sway bar need to be checked for slack at full droop.
New rear shocks are fitted last, matched to the springs and the lift height.
What Checks Happen After the Kit Is Fitted?
With all components installed and torqued under load, a careful installer runs through a set of checks:
1. Clearances at full lock and full droop: Brake lines, ABS wiring and hoses must have enough slack.
2. CV and tailshaft angles: Larger lifts may need correction components.
3. Ride height measurement: Compared against the before figures and the kit specification.
4. Headlight aim: A lifted front end can raise the beam.
5. 4x4 wheel alignment: Camber, caster and toe are reset to suit the new height.
Fasteners should also be rechecked after the first few hundred kilometres, and the alignment checked again once the springs settle. Our guide to caster correction after lifting your 4x4 explains why alignment matters so much.
How Long Does It Take to Install a Lift Kit?
A straightforward kit on a common ute or wagon is typically a one day job for an experienced workshop, alignment included. Kits with upper control arms, diff drops or new leaf packs take longer, as do older vehicles with rusted hardware. A first time DIY install can easily stretch across a full weekend.
That time, plus the alignment you'll need regardless, is why most owners choose fitting through an authorised dealer. See how much a 4x4 lift kit costs to install for real fitting prices across our range.
DIY vs Professional Lift Kit Installation
|
Factor |
DIY install |
Professional install |
|
Tools |
Spring compressors, torque wrench, stands needed |
Hoist and specialist equipment on hand |
|
Time |
Often a full weekend |
Typically one day |
|
Safety |
Risk from compressed springs |
Handled by trained technicians |
|
Alignment |
Still needs a workshop |
Usually completed on site |
|
Checks |
Easy to miss clearances |
Full post fit inspection |
FAQs
Looking for more information about installing a lift kit? Below we answer the most commonly asked questions
How hard is it to install a lift kit?
Do I need a wheel alignment after installing a lift kit?
Can I reuse my old U bolts?
What are pre assembled struts?
Is it legal to fit a lift kit yourself?
Where can I get a Formula 4x4 lift kit installed?
When you're ready to start, find a complete, matched kit for your vehicle in our 4x4 lift kits range.