



To set up adjustable shocks, start from the supplied baseline, then change one adjuster at a time by a click or two and test on the same road. On corrugations, soften high speed compression, while sand calls for more low speed compression and rebound. For towing, add rebound and low speed compression to control pitch and sway under tow ball mass.
Adjustable shocks are only as good as their settings. Plenty of owners fit a quality set, leave them where they arrived and never feel the difference they paid for. With a simple method and a few reference settings, you can tune your 4x4 for each trip in minutes. Below we explain how to adjust adjustable shocks and give starting points for common Australian conditions. To find a fully adjustable setup for your vehicle, see our adjustable remote reservoir lift kits.
What Do the Adjusters on Adjustable Shocks Control?
Most quality adjustable shocks have up to three damping adjusters, each controlling a different kind of movement:
• Low speed compression: How the shock resists slow movements, such as body motion when cornering, braking or accelerating.
• High speed compression: How it resists sharp, fast hits from potholes, washouts and corrugations.
• Rebound: How quickly the shock extends again after being compressed.
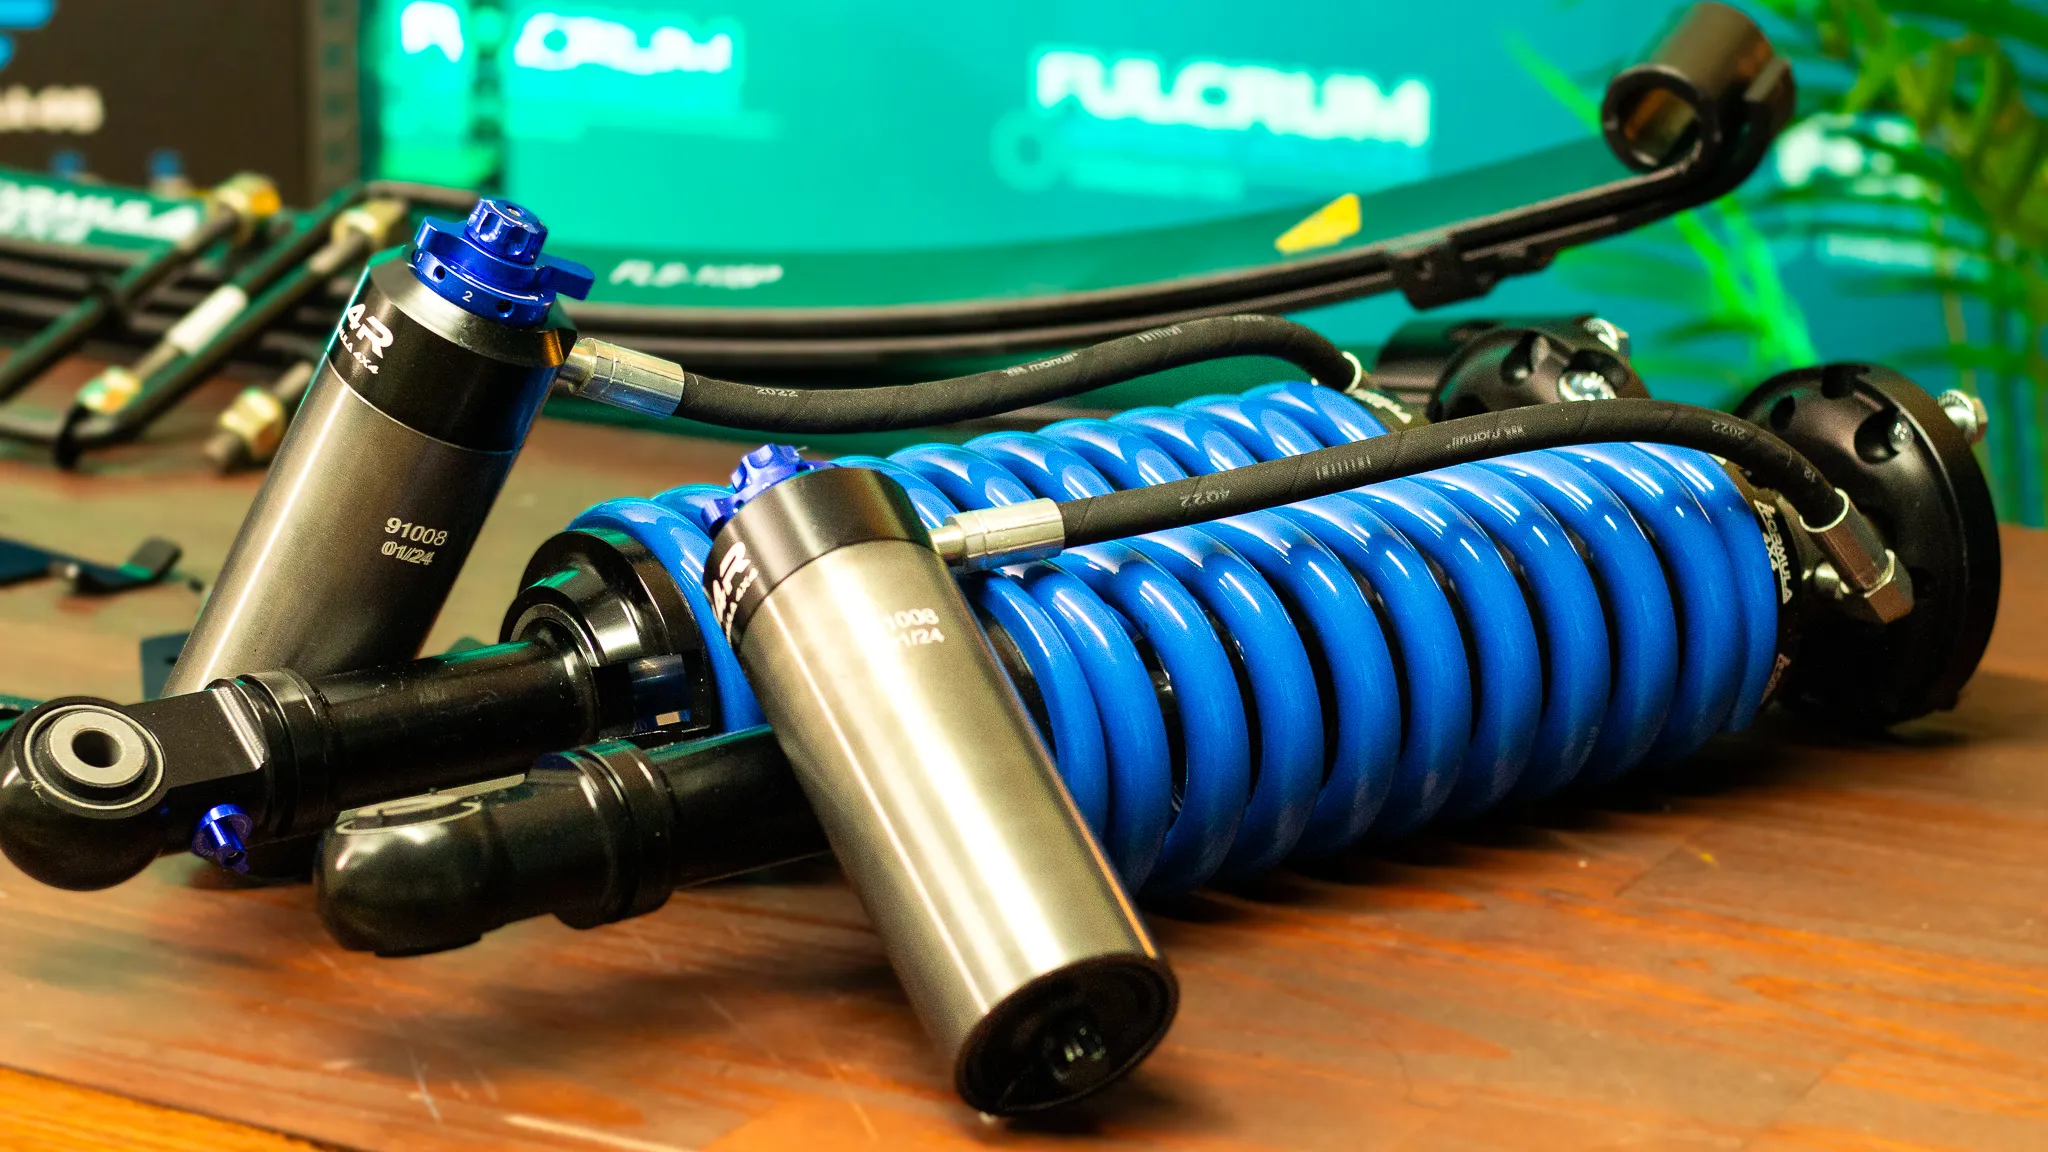
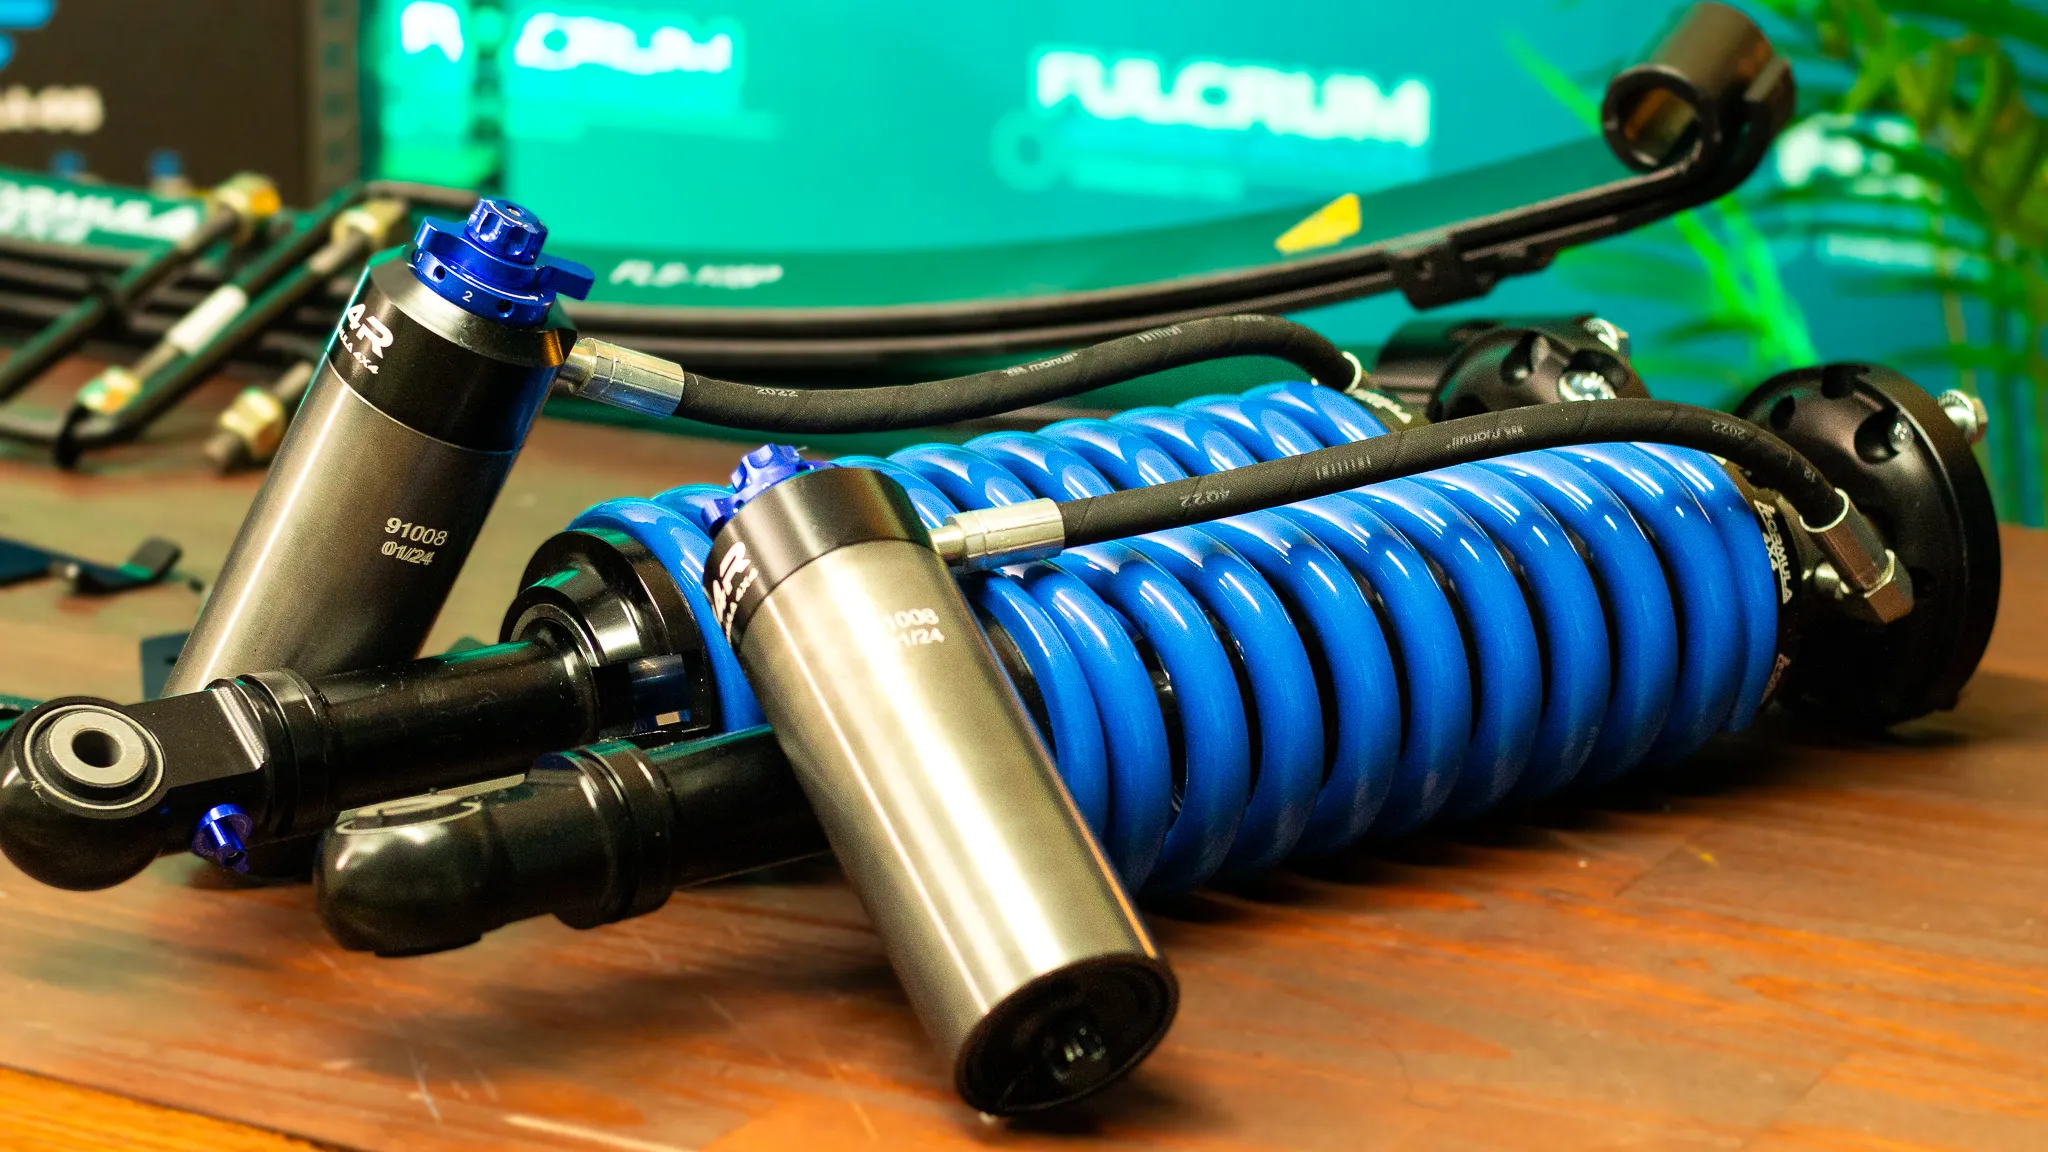
Our F4R remote reservoir shocks offer up to 8 low speed compression settings, 6 high speed compression settings and 12 rebound settings, with a preload adjustable spring seat on the front coilovers to set ride height. We explain the theory in compression vs rebound damping explained.
Knowing which adjuster controls which movement is the key to fixing a problem rather than chasing it.
How Should You Start Setting Up Adjustable Shocks?
Begin with the baseline settings supplied with your kit, and write them down. From there, follow a simple process every time:
1. Load the vehicle as you'll drive it: Settings that suit an empty vehicle won't suit one packed for a trip.
2. Pick a test road: Choose a stretch with the conditions you're tuning for and drive it at a consistent speed.
3. Change one adjuster at a time: Move it one or two clicks and make the same change on both sides of the axle.
4. Drive the same road again: Note whether the change helped, hurt or did nothing.
5. Record what works: Keep a note of settings for each condition so you can switch quickly next time.
Small, single changes tell you far more than turning everything at once.
Shock Settings for Corrugations
Corrugations hit the suspension with rapid, repeated sharp inputs. If the ride is harsh and the vehicle skips sideways across the ruts, the shock is resisting those hits too much.
Start by softening high speed compression a click or two at a time, so the wheel can follow the ripples and keep traction. If the vehicle then feels floaty after bigger dips, add a little rebound to calm it. Keep an eye on shock temperature on long runs, which is where remote reservoir shocks earn their keep, as explained in what is shock fade.
For a deeper look at handling rough gravel, see the best suspension for corrugated roads.
Shock Settings for Sand and Beach Driving
Soft sand loads the suspension with slow, heavy movements as the vehicle wallows through ruts and over dunes. Too little damping lets the body pitch and roll, which can unsettle the vehicle and cost traction.
Add low speed compression to firm up body control, then add rebound so the vehicle doesn't bounce after cresting a dune. Leave high speed compression closer to baseline, since sand rarely produces sharp hits.
Lower tyre pressures do much of the work in sand, so set those first and fine tune the shocks after.
Shock Settings for Towing
When towing, tow ball mass pushes the rear down and the trailer pushes and pulls on the vehicle through every dip. The aim is to control pitch and keep the combination settled.
At the rear, add rebound to stop the back end bouncing after bumps, and add low speed compression to resist squat and vehicle sway. Use the front adjusters to keep steering feel consistent. Our guide on the best shocks for towing a caravan covers towing setups in more detail.
Starting Point Adjustments by Condition
|
Condition |
Low speed compression |
High speed compression |
Rebound |
|
Highway, unloaded |
Baseline |
Baseline |
Baseline |
|
Corrugations |
Baseline |
Softer |
Slightly firmer if floaty |
|
Sand and beach |
Firmer |
Baseline |
Firmer |
|
Towing |
Firmer at rear |
Baseline |
Firmer at rear |
|
Rocky, slow tracks |
Softer |
Softer |
Baseline |
Adjust from your kit's baseline in small steps. These are starting directions rather than fixed settings.
FAQs
Looking for more information about adjusting remote reservoir shocks? Below we answer the most commonly asked questions
How do I know which adjuster to change?
How many clicks should I change at once?
Should front and rear shocks have the same settings?
Do I need to adjust my shocks for every trip?
Can I damage shocks by adjusting them?
What are remote reservoir shocks?
To tune your ride for every trip, explore our adjustable remote reservoir lift kits.